
A clean, sharp and long-lasting stencil starts long before the stencil paper touches the skin. Even the best tattoo stencil gel cannot compensate for poorly prepared skin, too much product or incorrect stencil placement. A good transfer is all about preparation, control and patience.
Here is the process we recommend at Zombie Tattoo Labs.
1. Prepare the Skin
Before applying your stencil, inspect the area and make sure the skin is suitable for tattooing. Clean the area thoroughly and remove any dirt, oils or residue. If necessary, shave the entire tattoo area using a fresh single-use razor. After shaving, clean the skin again and apply an appropriate skin antiseptic according to its instructions. The skin should be completely clean and dry before applying your stencil gel.
Why does this matter?
Oil, moisture, hair and product residue can all interfere with the transfer and may cause weak, uneven or blurred stencil lines.
2. Apply a Thin Layer of Stencil Gel
Apply a small amount of stencil gel and spread it evenly over the entire area. You do not need a thick layer. More gel does not mean a stronger stencil. In fact, using too much product can allow the transfer to move or cause fine lines to spread and become blurry. The goal is a thin, even and tacky layer.
PRO TIP — How do you know when you have enough gel?
Gently press your fingertips onto the prepared skin and lift them away. The surface should feel tacky and slightly sticky, not wet or slippery. If your fingers slide easily across the skin, you probably have too much product. Think tacky, not soaked.
3. Prepare Your Stencil
Print your tattoo design onto quality stencil transfer paper. Before touching the client’s skin, take the time to check:
- size
- orientation
- anatomy
- symmetry
- positioning
- movement of the body
Ask the client to stand or move naturally whenever the placement requires it. A perfect stencil in the wrong position is still the wrong stencil. Once you are confident about the placement, you are ready to transfer it.
4. Apply the Stencil in One Controlled Movement
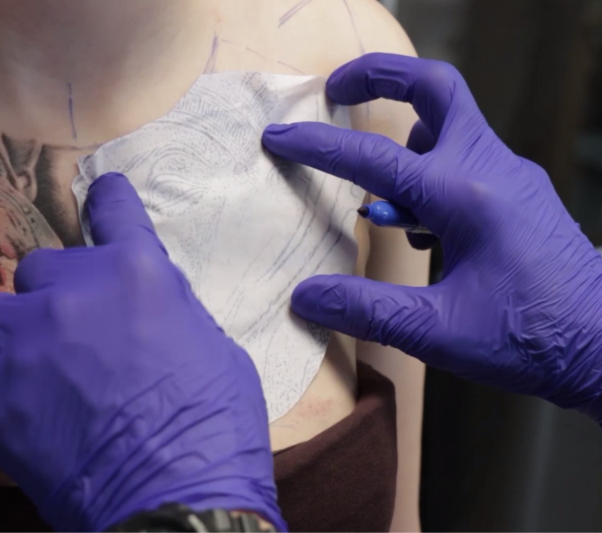
Position the stencil paper carefully above the prepared area. Once the first part of the stencil touches the skin, commit to the placement. Press the paper firmly and evenly against the skin. Avoid sliding, repositioning or rubbing the stencil around once contact has been made.
PRO TIP — One Direction Only
Never try to attach the stencil by pressing it onto the skin from several different directions. Choose your starting point and apply the paper progressively in one controlled direction. This helps prevent:
- double lines
- ghosting
- distorted details
- accidental movement of the stencil
The same principle applies when removing it.
5. Remove the Stencil Paper Smoothly
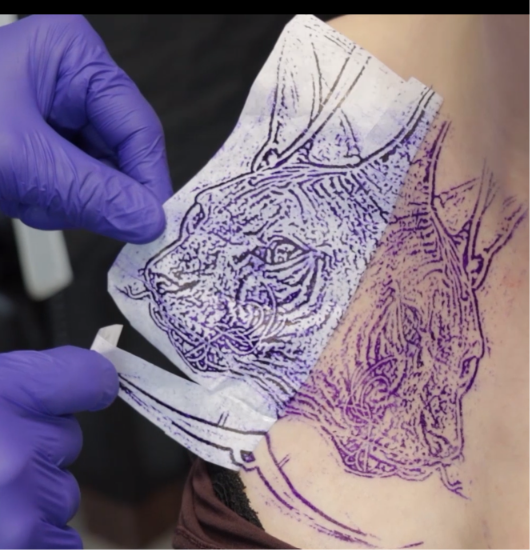
Once the transfer has been pressed evenly onto the skin, remove the stencil paper using one smooth, controlled movement. Do not peel one corner, stop, change direction and continue from another side. Lift the paper progressively in the same direction. Then inspect the transfer.
If the placement or transfer quality is not good enough, it is better to remove it completely, prepare the skin again and repeat the process rather than tattoo over a compromised stencil.
6. Let the Stencil Dry
This step is easy to underestimate. Once the stencil paper has been removed, give the transfer enough time to set and dry before you start tattooing. Do not immediately cover the area with excessive glide or begin wiping aggressively.
Drying time can vary depending on:
- the stencil product
- amount applied
- skin type
- room temperature
- humidity
- size and complexity of the stencil
The important rule is simple: do not rush the stencil. A few extra minutes during preparation can save you a lot of trouble during the tattoo.
7. Tattoo From the Bottom Up
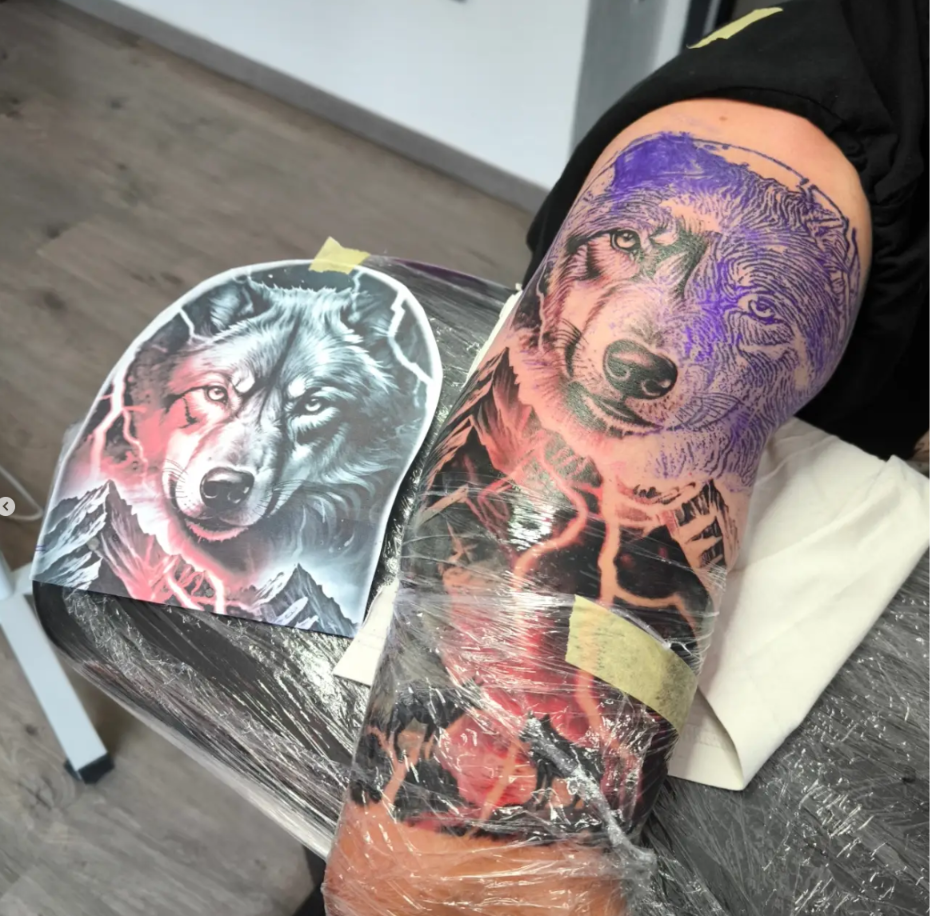
Whenever the design allows it, start tattooing from the bottom of the stencil and work upward. Why? Because your hand, excess ink and wiping will naturally move across the skin during the session. Starting from the bottom helps reduce the amount of contact with stencil lines you have not tattooed yet.
Be especially careful with large, detailed or multi-hour projects. During the first stages of the tattoo, avoid unnecessary aggressive wiping over untouched stencil areas. Protect the roadmap before you need it.
What We Learned Developing Zombie Puke
At Zombie Tattoo Labs, we developed and tested Zombie Puke Tattoo Stencil Gel around one simple idea: a stencil product should make the artist’s job easier — not create another problem to solve. During development and testing, we kept coming back to several basic rules.
1. Less is usually more.
A thin, even layer produces a cleaner working surface than flooding the skin with stencil gel.
2. The right tack matters.
The skin should feel sticky enough to grab the transfer paper without remaining wet or slippery.
3. Skin preparation changes everything.
Even a great stencil gel will perform poorly on oily, damp or improperly prepared skin.
4. Placement should be deliberate.
Measure first. Check the anatomy. Check the client standing. Check it again. Then commit.
5. Apply in one direction.
Avoid moving, sliding or pressing the stencil from multiple directions once it touches the skin. A controlled transfer means cleaner lines.
6. Give the transfer time to set.
Do not rush from stencil application directly into tattooing. Let the stencil become your roadmap.
7. Protect untouched areas.
Work strategically and avoid repeatedly wiping across sections of the stencil you still need.
8. A strong stencil is a process, not just a product.
Good stencil gel matters. But good preparation, correct application and smart tattooing technique matter just as much.
Zombie Puke gives you the grip. Your technique does the rest.
Want More Tattoo Tips?
For more short tutorials, product tests, tattoo techniques and behind-the-scenes content, follow us on Instagram. And if you want to take your tattooing beyond products and improve your technique, design, workflow and overall approach, visit our sponsored Next Level Tattoo Academy.
Better preparation. Better execution. Better tattoos.
Zombie Tattoo Labs – Survives the Apocalypse.